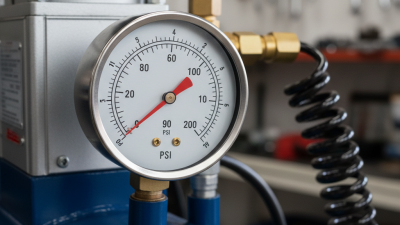
Why Is My Air Compressor Gauge Not Working?

When an air compressor gauge stops responding, the problem may look small but signal a serious control issue. A frozen needle, cracked lens, blocked port, or failed pressure sensor can hide the system’s true condition. Sometimes, the compressor works normally while the air compressor gauge quietly reports the wrong pressure. That assumption is often wrong.

The U.S. Department of Energy’s Improving Compressed Air System Performance: A Sourcebook for Industry notes that compressed air leaks can waste 20% to 30% of compressor output. Incorrect pressure readings can increase this waste by triggering unnecessary loading or excessive operating pressure. The same DOE guidance promotes regular inspection, leak detection, and accurate measurement. These recommendations matter in practical settings, where a needle may remain fixed at 100 psi while a receiver tank slowly loses pressure.

Compressed Air and Gas Institute guidance also emphasizes verified performance, proper instrumentation, and safe maintenance practices. A technician should compare the installed gauge with a calibrated test gauge, inspect the connection for blockage, and check for vibration or condensate damage. Never remove a gauge from pressurized equipment. Isolate and depressurize the system first.

The simplest explanation is not always correct. A failed gauge may actually reveal a clogged snubber, damaged Bourdon tube, faulty transducer, or unstable supply line. That detail matters. This guide explains how to identify each symptom, test the air compressor gauge safely, and decide whether cleaning, recalibration, or replacement is appropriate. It also considers an uncomfortable possibility: the gauge may be working, while the compressor system is not.
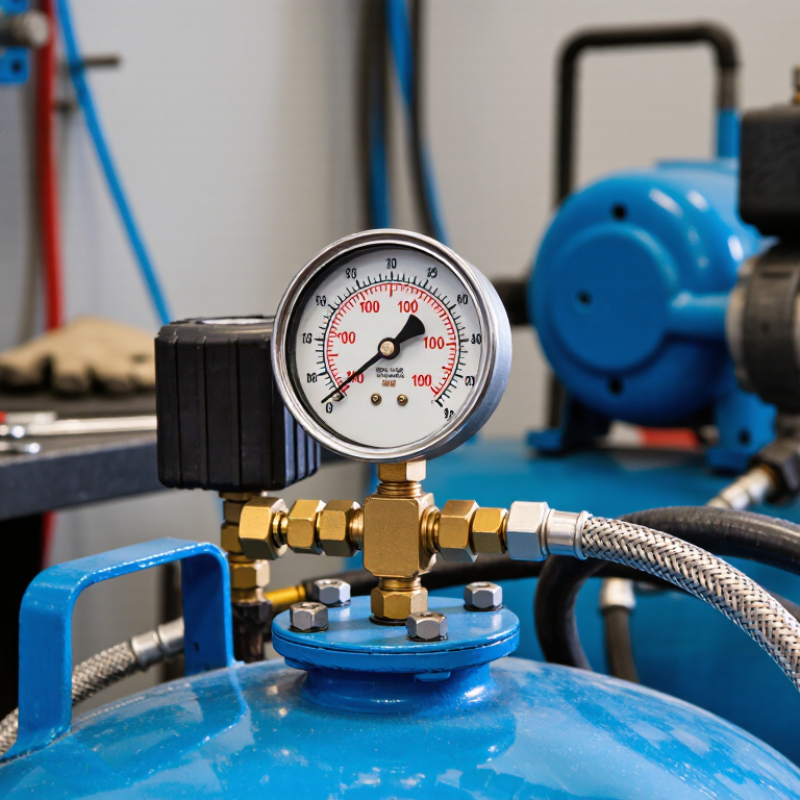
Why Is My Air Compressor Gauge Not Working?

What an Air Compressor Gauge Measures and How It Works

An air compressor gauge measures pressure, not airflow or tank volume. Most workshop gauges show gauge pressure relative to atmospheric pressure. A reading of zero means the system matches surrounding air pressure, not that the tank is empty. Many gauges use a curved Bourdon tube. As pressure enters the tube, it tries to straighten. A small linkage transfers that movement to the needle. The dial then displays pressure in psi, bar, or both.

The gauge may appear dead when its connection is blocked, its mechanism is worn, or vibration has damaged the linkage. A needle stuck at zero can also indicate a closed isolation valve. Check the reading against a calibrated test gauge, if available. Do not remove a gauge under pressure.

The U.S. Department of Energy’s Improving Compressed Air System Performance sourcebook reports that leaks can waste 20–30% of compressor output. A false gauge reading can hide that loss. It can also encourage unsafe pressure adjustments.

ASME B40.100 stresses proper gauge selection, accuracy, and pressure-range limits for industrial service. Choose a gauge whose normal reading sits near the middle of its scale. Oversized ranges reduce readability. Undersized ranges invite overpressure damage.

I sometimes see gauges blamed too quickly; the real fault may be a clogged snubber or a failed pressure regulator. Check the whole measurement path.

Common Reasons an Air Compressor Gauge Stops Working

An air compressor gauge can stop working for several ordinary reasons. The needle may remain at zero because the gauge is damaged, blocked, or disconnected from the pressure line. Moisture and oil can also enter the sensing port, especially when drainage is neglected. That small opening clogs easily. A cracked lens, bent pointer, or loose fitting offers another clue. Check the gauge only after isolating pressure and releasing stored air safely.

I have often seen operators blame the compressor first. That assumption can be wrong. A failed gauge may simply show a worn Bourdon tube or a leaking connection. The U.S. Department of Energy reports that compressed-air leaks can waste 20–30% of compressor output, so a pressure drop deserves careful testing, not guesswork. Compare the suspect gauge with a calibrated test gauge. If both readings differ, calibration or replacement may be necessary. ASME B40.100 also emphasizes proper gauge selection, pressure range, and installation.

Look closely.

A gauge can read incorrectly when its range is too high for the application. The needle then moves only slightly, making normal pressure changes hard to notice. Vibration may loosen internal parts over time. Heat can damage the sensing mechanism, while pipe sealant can block the inlet. ISO 8573 guidance highlights the importance of controlling moisture and contaminants in compressed-air systems, though it does not repair a faulty gauge. Record pressure readings during startup and under load. A quick visual check helps, but it is not proof of accuracy. Replace the instrument when damage, unstable readings, or repeated zero readings remain after the connection is cleaned.

How to Check the Gauge, Connections, and Pressure Sensor

Why Is My Air Compressor Gauge Not Working?

A dead gauge does not always mean the compressor has failed. Start safely. Shut down the unit, isolate the tank, and release pressure before removing fittings. Check whether the needle returns to zero. A needle stuck above zero may indicate a blocked port or damaged Bourdon tube. Compare the display with a calibrated test gauge connected at the same outlet. ASME B40.100 provides guidance for pressure-gauge performance and accuracy.

Inspect every connection closely. Look for cracked tubing, loose threads, oil residue, or a faint hiss near the fitting. The U.S. Department of Energy reports that compressed-air leaks can waste 20% to 30% of compressor output. That makes a small connection problem expensive. Do not ignore it. If the gauge works but the control reading is wrong, test the pressure sensor. Confirm its supply voltage, ground, signal wire, and connector condition. A dirty sensor port can create slow or unstable readings.

Tips: Use a known-good test gauge, not a visual guess. Photograph wiring before disconnecting anything. Check the sensor signal while pressure rises and falls. A constant signal often suggests wiring or sensor failure. I have seen operators replace gauges too quickly. The real fault was a loose tube behind the panel. Also, a sensor can pass a basic voltage check and still drift under load, so periodic calibration remains worthwhile.

Why Is My Air Compressor Gauge Not Working? - How to Check the Gauge, Connections, and Pressure Sensor

Observed Symptom Most Likely Area How to Check Normal or Expected Result Recommended Action Safety Level
The gauge stays at zero while the tank is known to contain air. Blocked gauge port, closed isolation valve, damaged gauge, or disconnected pressure line. Switch off the compressor, disconnect power, and release pressure safely. Inspect the gauge inlet and confirm that any isolation valve is fully open. The gauge should respond smoothly as tank pressure changes and should return close to zero when the tank is empty. Clear only external blockage and tighten approved fittings. Replace the gauge if its mechanism does not respond. Check before use
The needle is stuck at a fixed pressure. Mechanical gauge failure, damaged Bourdon tube, or contamination inside the pressure passage. Compare the gauge with a known-accurate test gauge at the same pressure connection. Do not tap the gauge or open its sealed housing. Both gauges should show approximately the same pressure, within their stated accuracy limits. Replace a gauge that remains fixed, moves erratically, or differs substantially from the reference gauge. Service required
The gauge rises slowly or does not move until the compressor stops. Restricted gauge passage, partially blocked fitting, or a small leak near the gauge connection. Inspect the threaded connection, tubing, and fitting for dirt, sealant fragments, kinks, or air leakage. Apply leak-detection solution only to accessible external joints. The gauge should increase progressively while the tank is being filled. Remove contamination from accessible parts, correct damaged tubing, and replace leaking fittings using suitable thread sealing practices. Check before use
The gauge fluctuates or vibrates heavily during operation. Pressure pulsation, a loose connection, vibration, or a damaged gauge movement. Check mounting hardware and connections with the system depressurized. Compare the reading with a second gauge after pressure stabilizes. Minor movement may occur during pumping, but the reading should stabilize when airflow demand stops. Secure the gauge, inspect the pressure line, and replace the gauge if the pointer remains unstable. Inspect promptly
The gauge reading is consistently higher or lower than a verified reference gauge. Gauge calibration drift, incorrect gauge range, or a reference gauge that is not suitable for comparison. Compare both gauges at several stable pressure points, preferably using a calibrated test instrument with a suitable pressure range. The readings should remain within the accuracy specification marked on the gauge or stated by the manufacturer. Replace the gauge if it is outside its accuracy tolerance. Do not adjust a sealed gauge unless it is specifically designed for calibration. Diagnostic check
The gauge works, but the compressor starts or stops at the wrong pressure. Pressure switch adjustment, pressure sensor fault, control wiring issue, or an inaccurate gauge. Verify actual tank pressure with a calibrated reference gauge. Inspect control wiring only after isolating electrical power and following the equipment service procedure. Cut-in and cut-out pressures should match the equipment's specified settings and remain consistent over repeated cycles. Have the pressure switch or sensor tested and adjusted by a qualified person. Replace defective control components. Qualified service
An electronic pressure display shows an error or remains unchanged. Pressure sensor wiring, electrical supply, sensor port blockage, failed sensor, or control-board fault. Disconnect electrical power before inspecting connectors. Check for loose, corroded, or damaged wiring and confirm that the sensor port is not blocked. The display should change as tank pressure changes and should not show an error under normal operating conditions. Repair damaged connections and test the sensor according to its specified signal or resistance values. Replace the sensor if it fails testing. Qualified service
A pressure leak is heard around the gauge or sensor connection. Loose fitting, damaged seal, cracked tubing, or cross-threaded connection. Turn off and unplug the compressor, drain the tank completely, and inspect the connection only after all pressure has been released. No hissing sound or bubbles should appear at a properly sealed connection during a controlled leak check. Replace damaged seals or fittings and reconnect them correctly. Never tighten a pressurized connection. Depressurize first
The gauge glass is cracked, fogged, or the pointer is bent. Impact damage, moisture ingress, overheating, or internal mechanical failure. Inspect the gauge from outside without removing the protective lens or opening the case. The lens should be intact, the dial readable, and the pointer straight and free-moving. Replace the complete gauge. Do not rely on a gauge with a damaged lens or bent pointer. Replace before use
The gauge reads normally, but the tank pressure drops quickly after shutdown. Air leak in the tank, check valve, drain valve, hose, regulator, or connected air tool. Close downstream outlets, record the pressure, and observe the reading after the system has been isolated. Check accessible joints for leaks after depressurizing. Pressure should not decline rapidly when the tank and outlets are isolated. Repair the leaking component. Stop using the compressor if the tank itself is corroded, damaged, or leaking. Stop if tank is damaged

Safety note: Always disconnect electrical power and fully release stored air pressure before removing a gauge, sensor, fitting, or pressure line. Do not exceed the rated working pressure of the compressor, tank, gauge, or replacement component.

Step-by-Step Methods to Repair or Replace a Faulty Gauge

Why Is My Air Compressor Gauge Not Working?

Step-by-Step Methods to Repair or Replace a Faulty Gauge

Start with safety. Switch off the compressor, unplug it, and drain the tank completely. Confirm that the gauge reads zero before touching the fitting. Inspect the face for cracks, a stuck needle, or moisture beneath the lens. A blocked inlet can also cause false readings. Remove dirt carefully, but never force the needle. Do not guess.

I once assumed a dead gauge needed replacement. The real problem was a clogged connection filled with oily residue. Remove the gauge with the correct wrench, supporting the fitting to avoid twisting the tank port.

Compare it with a calibrated test gauge if available. This check helps separate a faulty gauge from a pressure-control problem. My first assumption was wrong.

Replace the gauge when its mechanism sticks, the lens leaks, or the reading remains inaccurate after cleaning. Match the pressure range, port size, thread type, and connection direction. Choose a gauge rated above the compressor’s maximum working pressure. Apply suitable thread sealant sparingly, keeping the first thread clear of debris. Tighten firmly, but avoid excessive force. Repressurize the tank slowly and inspect every joint for leaks. Check it twice. If the new reading conflicts with a reliable test gauge, stop using the compressor until a qualified technician evaluates it.

When Professional Air Compressor Service Is Necessary

Why Is My Air Compressor Gauge Not Working?

A faulty gauge may stay at zero, jump suddenly, or show pressure that feels inconsistent. Common causes include a blocked gauge port, damaged internal parts, loose fittings, or moisture inside the pressure line.

Turn off the compressor and release stored pressure before checking anything. Never trust a silent machine as a safe machine.

Professional air compressor service

Professional air compressor service becomes necessary when the gauge disagrees with a second verified gauge. It is also needed when pressure keeps rising, the safety valve activates, or the compressor cycles unusually often.

A trained technician can test the gauge, pressure switch, relief valve, wiring, and tank connections as one system. Replacing only the gauge may hide a deeper control problem. That mistake is easy to make.

A service professional can also identify corrosion, air leaks, and calibration errors that are difficult to see during a quick inspection.

Tips
  • Check for a bent needle, cracked lens, or hissing fitting.
  • Compare readings with a known accurate test gauge.
  • Keep the gauge opening free from dirt and condensed water.
  • Do not adjust the pressure switch without proper training.
  • Record pressure readings before and after service.

Small details matter. If the gauge remains unreliable after basic checks, stop using the compressor and arrange qualified service.